
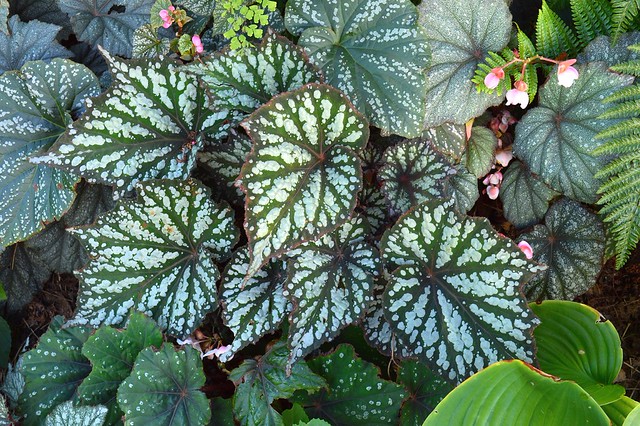
One reason begonias are so popular is because they're ridiculously easy to propagate. When I was a kid, I was introduced to begonias when my mother brought home a leaf that a woman in her bridge club had given her. I already knew how to propagate african violets from leaf cuttings, and this woman told my mother that begonias could be propagated the same way. It worked, and I was hooked. I've since discovered that most begonias can be propagated from leaf cuttings. About the only ones that can't are cane or "angelwing" begonias, which have to be propagated by division or stem cuttings.
There are several ways to propagate from leaf cuttings but my preferred method, because it's quick and easy and I'm a terribly lazy gardener, is the leaf cone cutting. This technique uses the whole leaf and is nearly foolproof if you need just a few new plants. (Commercial growers who propagate in larger quantities will often cut a leaf into several small sections to produce a dozen or more new plants from each leaf.)
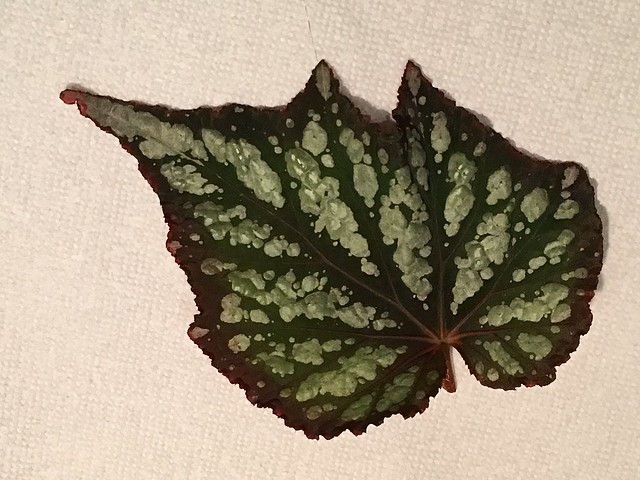
Begonia leaf, ready for propagation
Select a healthy leaf, with no obvious damage, pests, or diseases, and snap or cut it off at the petiole just below the leaf blade. Since I grow my begonias outdoors, there is a distinct risk of critters. I swish the leaves around in warm water with a bit of dish detergent, then rinse them well, blot them gently and allow them to dry on paper towels before proceeding.
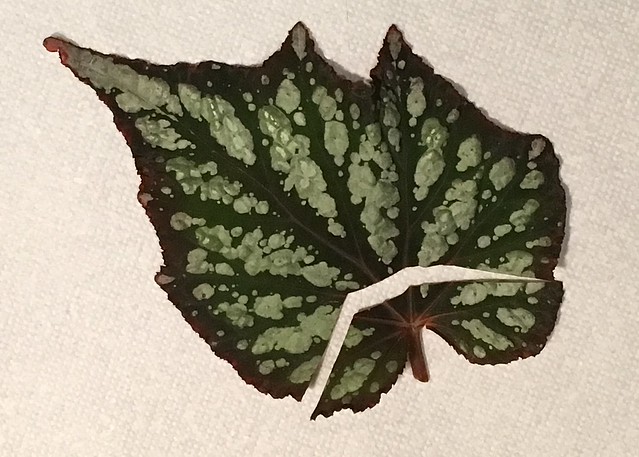
Petiole and center cut out of the leaf
With a sharp knife or scissors, cut out the center of the leaf around the petiole and across the major leaf veins. But save that cut-out section from the middle! If you want, you can plant that part too. Just bury the cut end of the petiole in potting mix, and otherwise treat as I describe as below.

Leaf ready for planting
I find that they aren't terribly picky about the potting mix, as long as it drains well and doesn't stay too wet. If a particular mix seems heavy, I'll add a bit of extra perlite. Curl the leaf into a cone and insert it into a pot with your favorite potting mix, making sure the cut edges are slightly buried, carefully water it in, and allow it to drain for a few minutes. After most of the excess water has drained out, I usually place the pots on a couple of layers of paper towels to blot out any additional moisture.
Cone cuttings in potting mix
If the leaves are too big, you can trim them down a bit. Don't forget to label them! You can write the name on a tag, or directly on the pot as I did above. Now pop those pots into a plastic bag. In humid greenhouse conditions this isn't necessary, but in the home it helps immensely. Place the bagged pots in a warm spot with bright indirect light. For me, that's under fluorescent lights on my light stand. Direct sun for even part of the day will cook them almost instantly. If you see heavy condensation inside the bag, open the top a bit for a day or two and let some of that moisture escape.

New plants forming
The leaf will send out roots within a week or two, and after that will form one or more new plants at the cut end of each major vein. At this point I usually open the bag, or poke a few holes in it, to lower the humidity and help harden off the new plants.
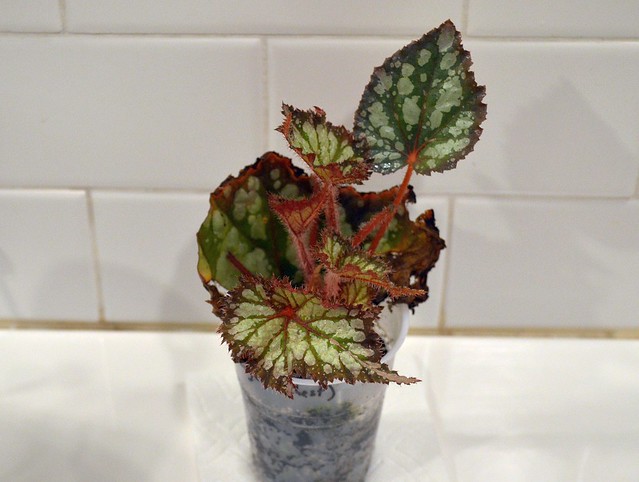
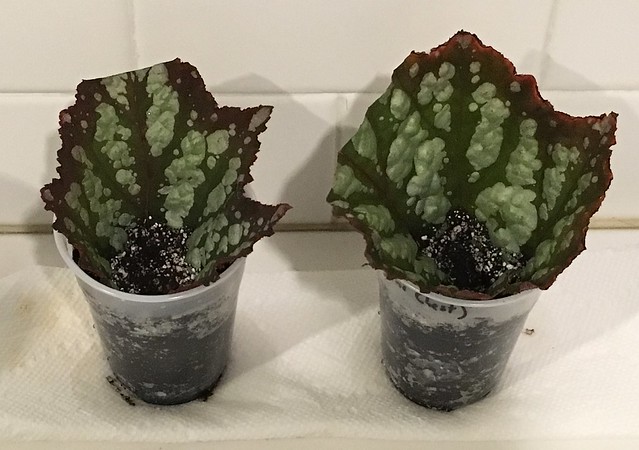
Several weeks later, new plants are ready to pot up
They're ready for potting up as soon as they have two or three leaves of their own, but there's no rush; you can wait until they get too crowded, or the original leaf begins to deteriorate. If you're really lazy you can leave them all together, but that can produce a rather crowded pot so I carefully separate them and plant them individually.
Wasn't that easy? Now get propagating!
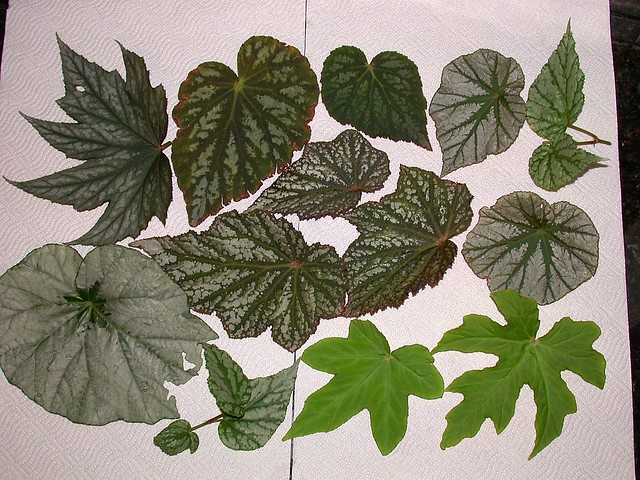
Begonia leaves ready for propagation
For more information about propagating begonias, see this article by Brad Thompson on the American Begonia Society website.
I had no idea this was possible! So excited to make more of the few new begonias I picked up last season! :)
ReplyDeleteLove your easy to follow instructions.
ReplyDeleteThank you for this!
ReplyDeleteThank-you for sharing your information.
ReplyDeleteThank you so much! Love begonias
ReplyDeleteI love begonias. Thanks for this info. I thought i could cut a stem below a node and plant it.
ReplyDeleteJe vous remercie pour ces informations détaillées .Un coup de chapeau.
ReplyDelete